About Our Katana Swords
TrueKatana is home to one of the largest collections of handmade katana swords available anywhere online. With over 1,400 individually hand-forged Japanese samurai swords in our catalog, we offer everything from affordable entry-level katanas to museum-grade collectible masterpieces — each one crafted by our team of 40+ experienced swordsmiths who bring decades of traditional forging expertise to every blade.
For more than seven years, collectors and enthusiasts across the United States have trusted TrueKatana as their go-to source for authentic Japanese swords. Over 80,000 customers have chosen us, and our 9,800+ verified reviews speak to the quality, craftsmanship, and care behind every katana we ship. We're not just a store — we're a community built around a shared appreciation for the art of Japanese sword-making.
Find the Perfect Katana for Your Collection
Whether you're a first-time buyer or a seasoned sword collector, our lineup of katana swords is designed to meet you wherever you are:
Traditional & Entry-Level Katana
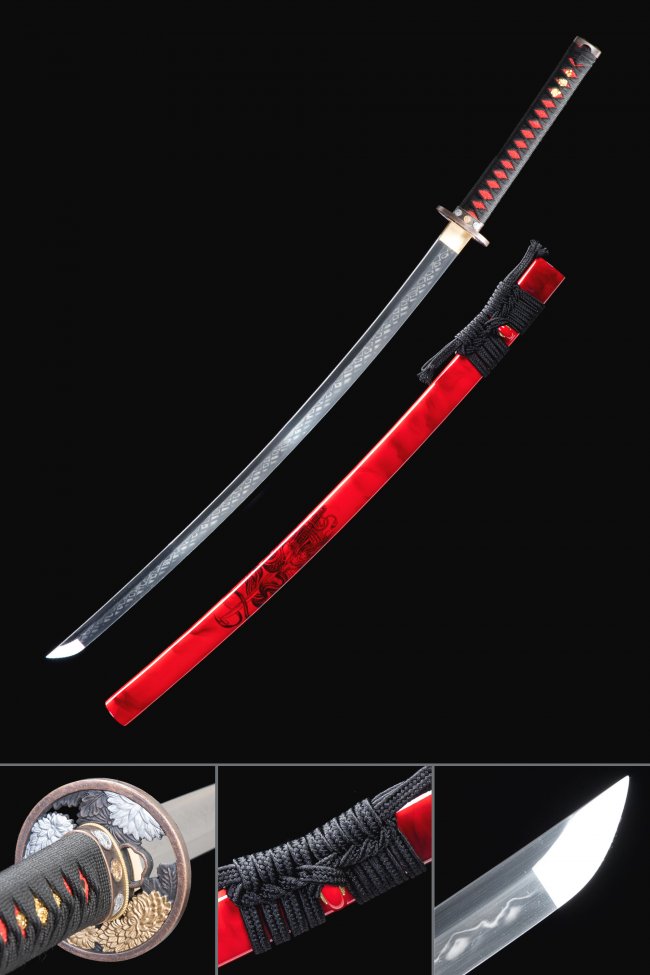
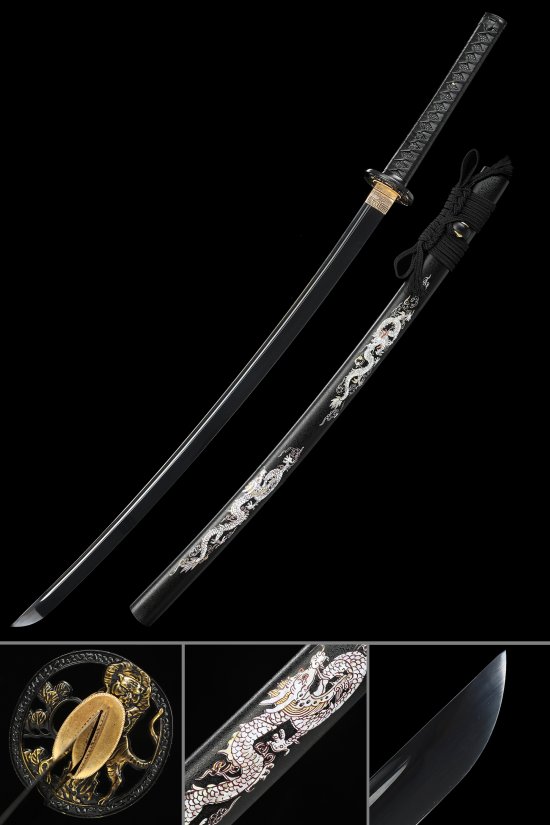
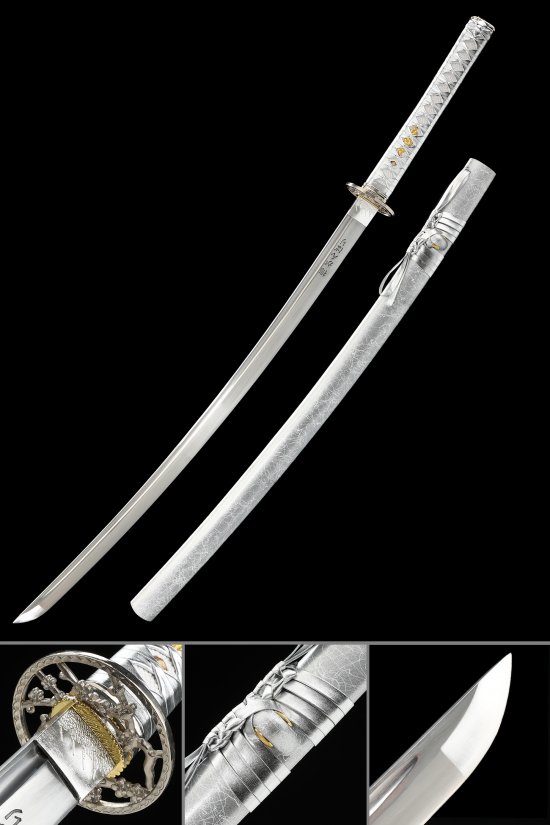
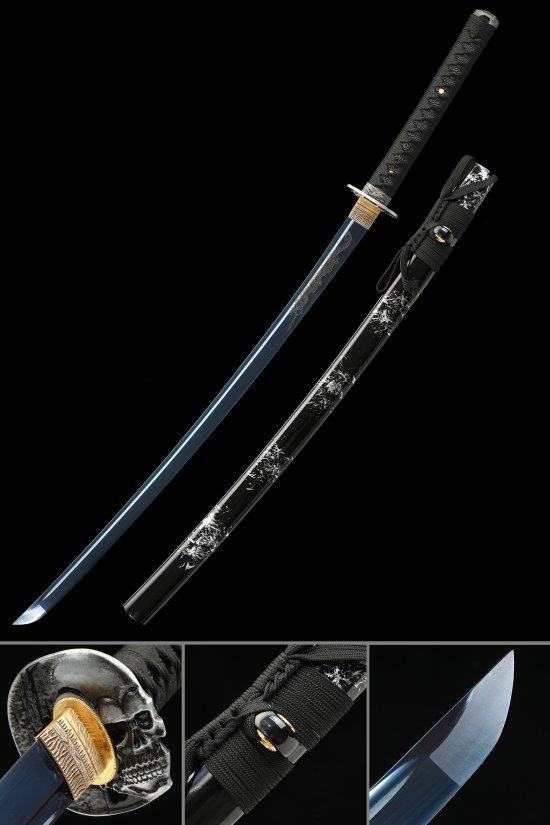
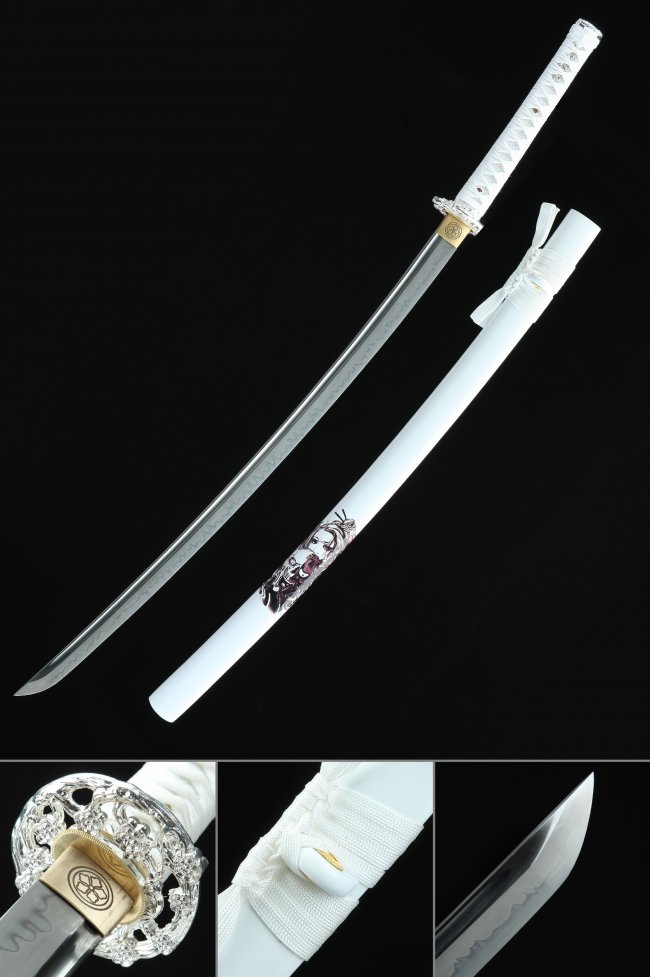
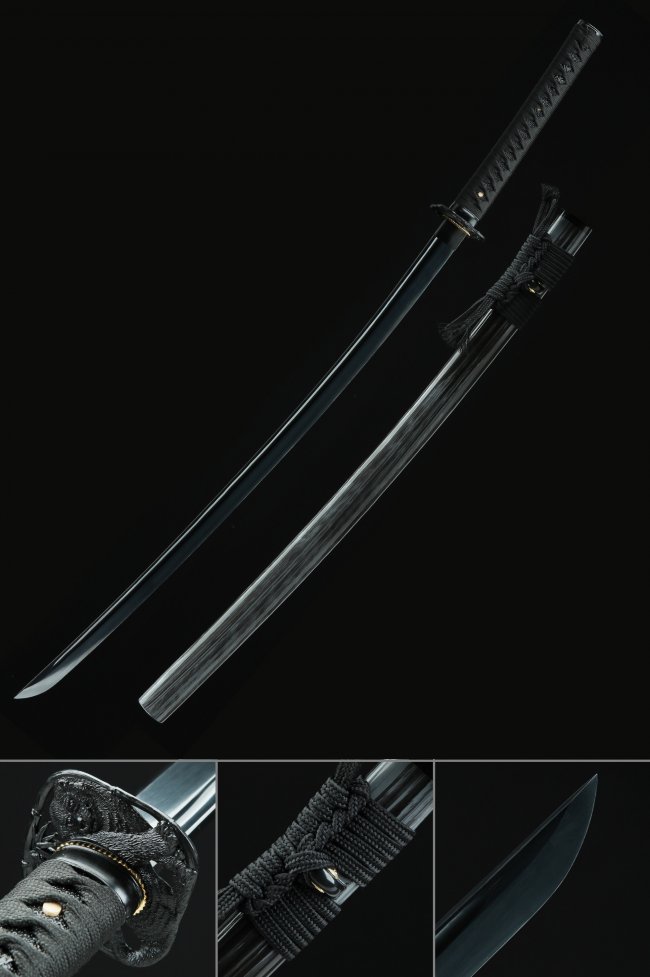
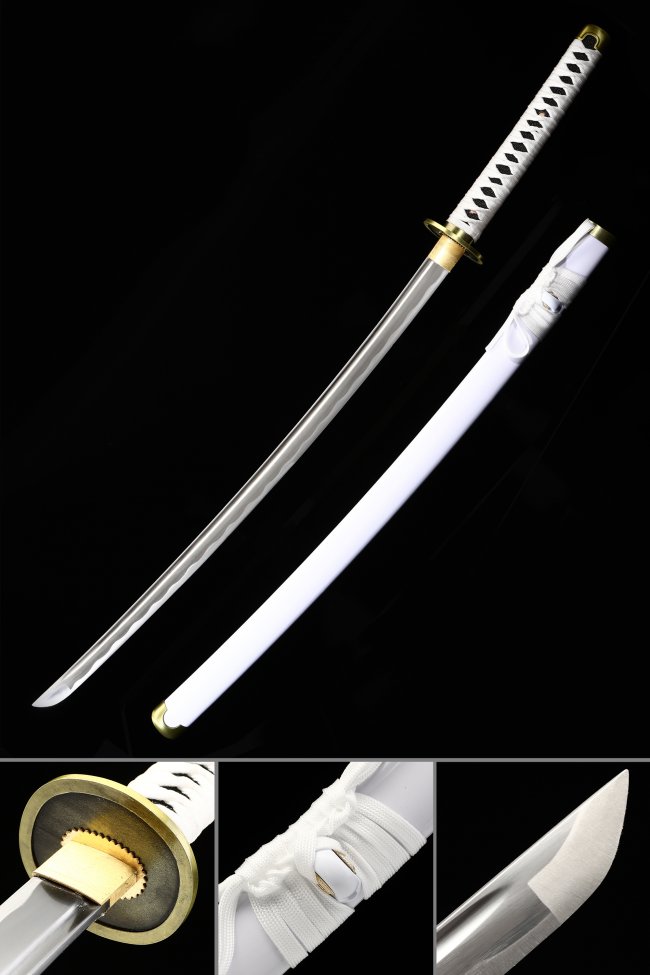
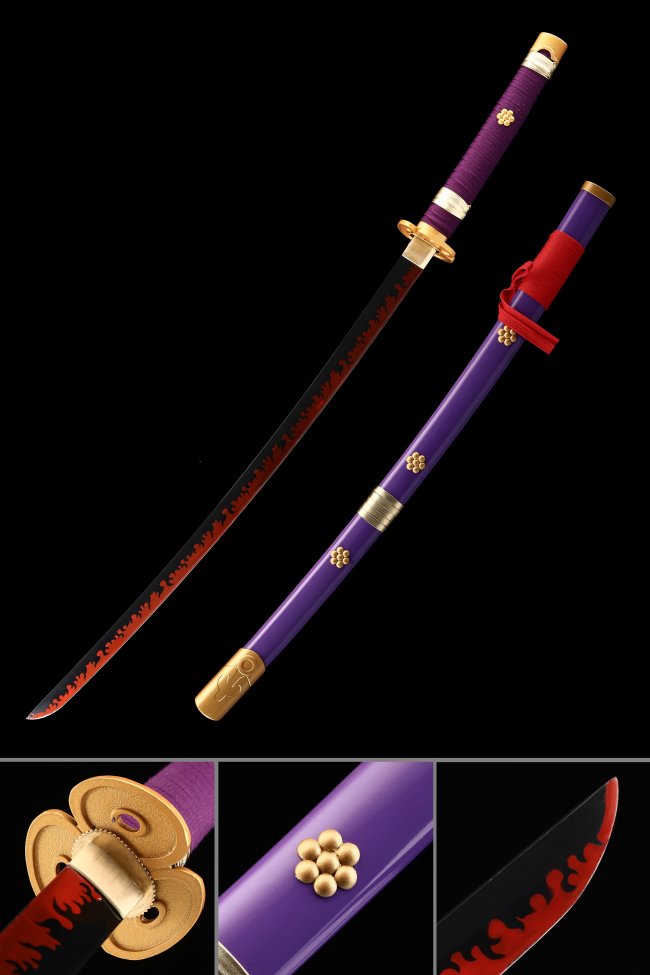
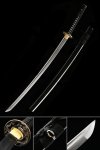
Starting from under $100, our entry-level katana collection features full tang blades forged from 1045 carbon steel — an ideal starting point for new collectors and display enthusiasts. Each sword comes complete with a hand-wrapped tsuka, alloy tsuba, and lacquered saya, offering authentic aesthetics at an accessible price.
Mid-Range & High-End Katana
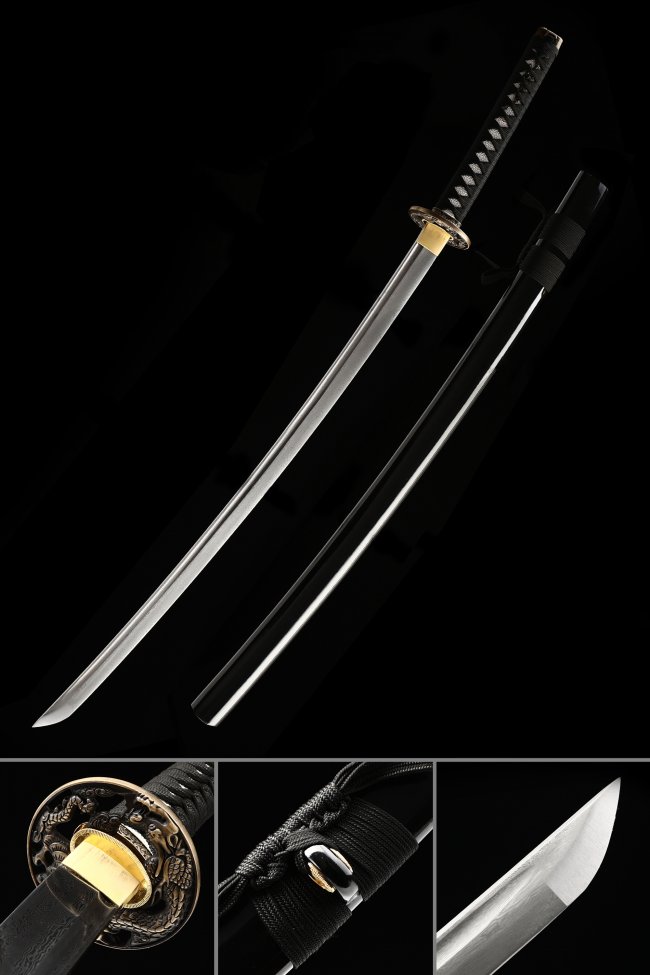
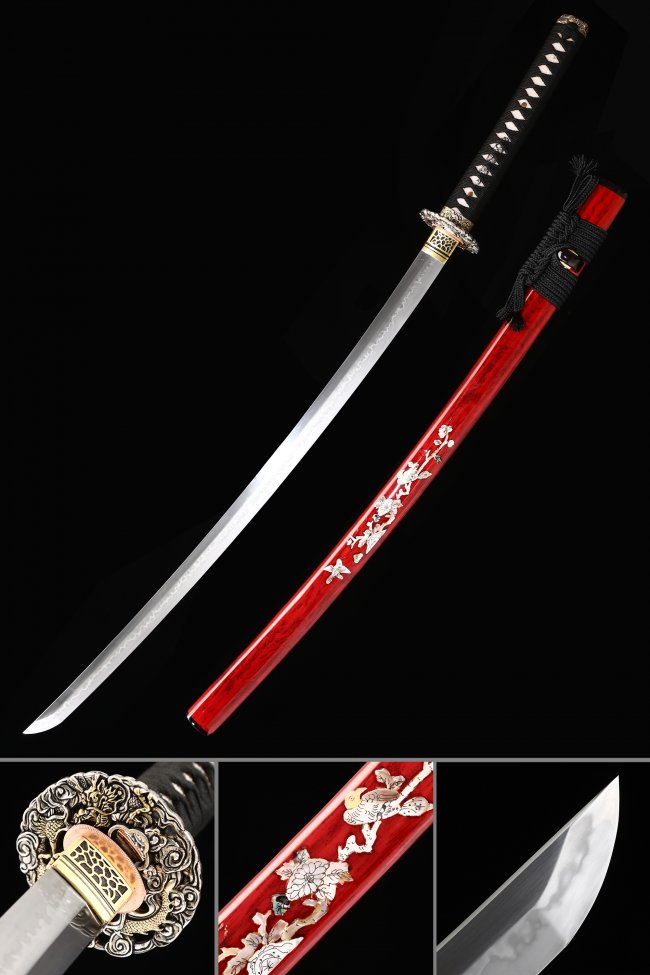
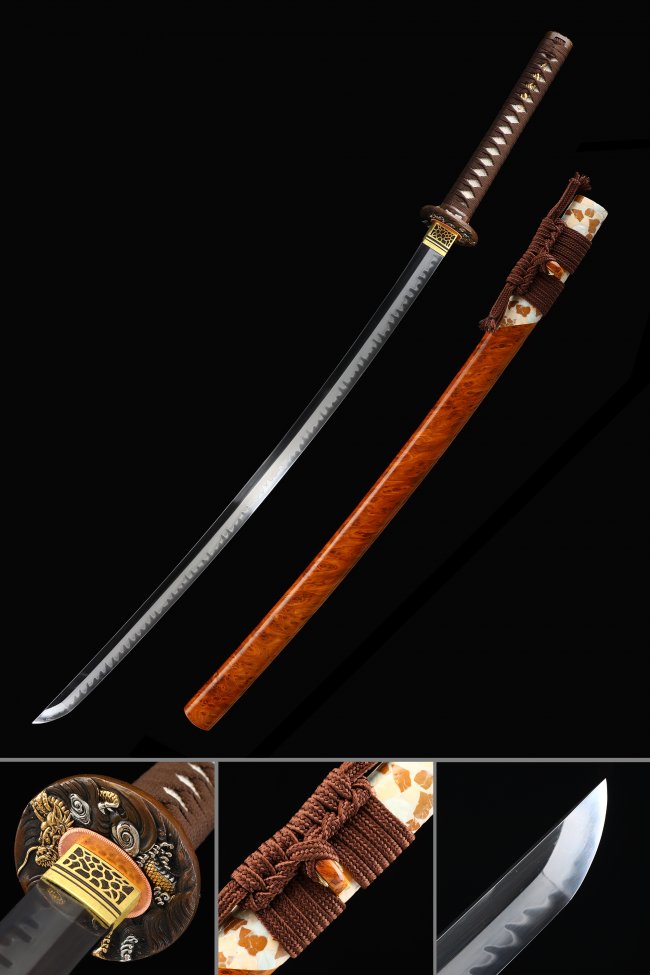
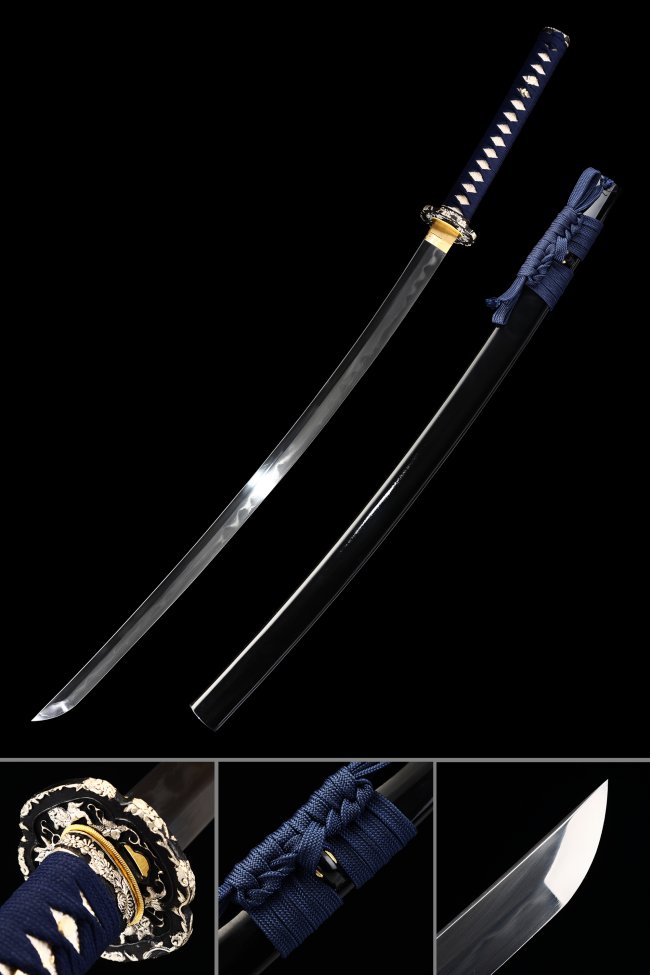
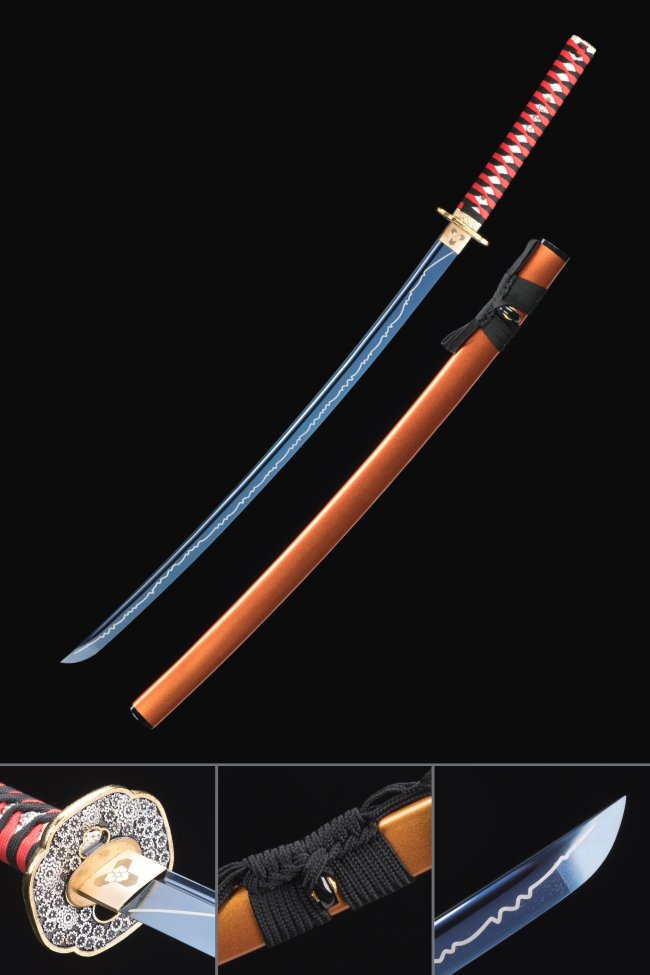
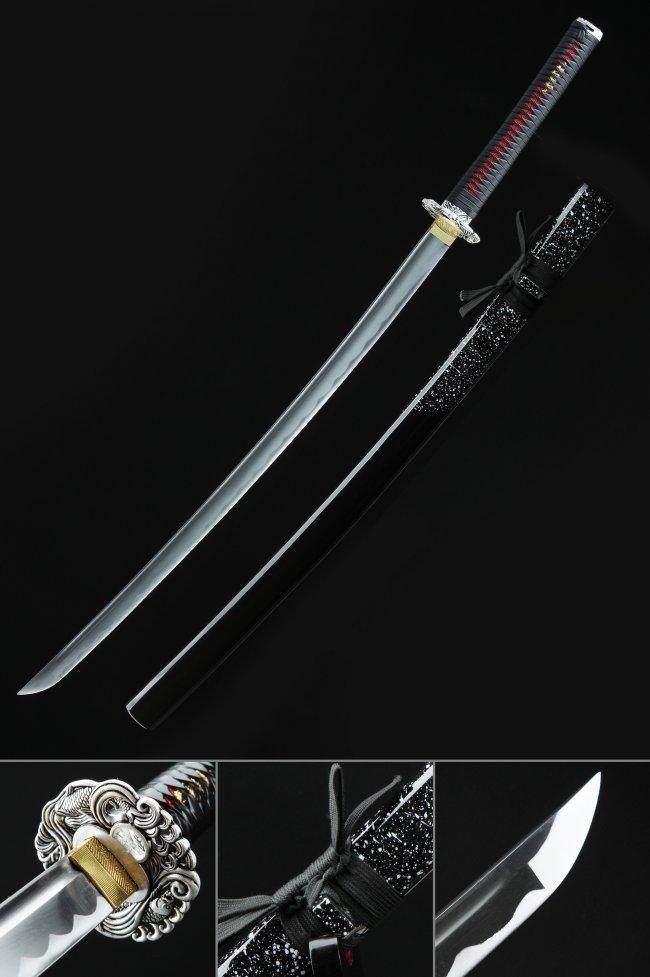
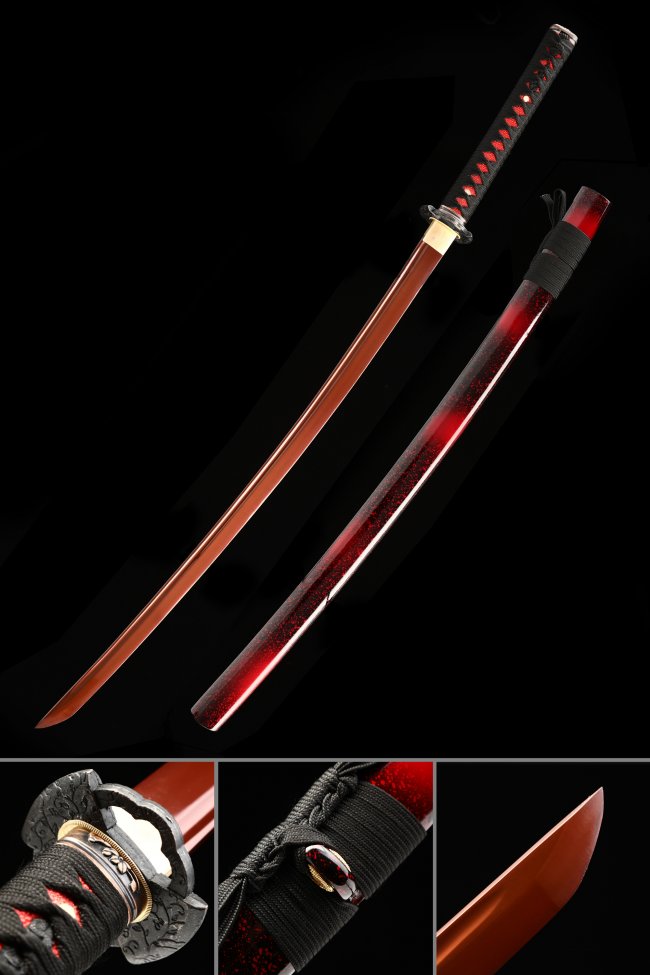
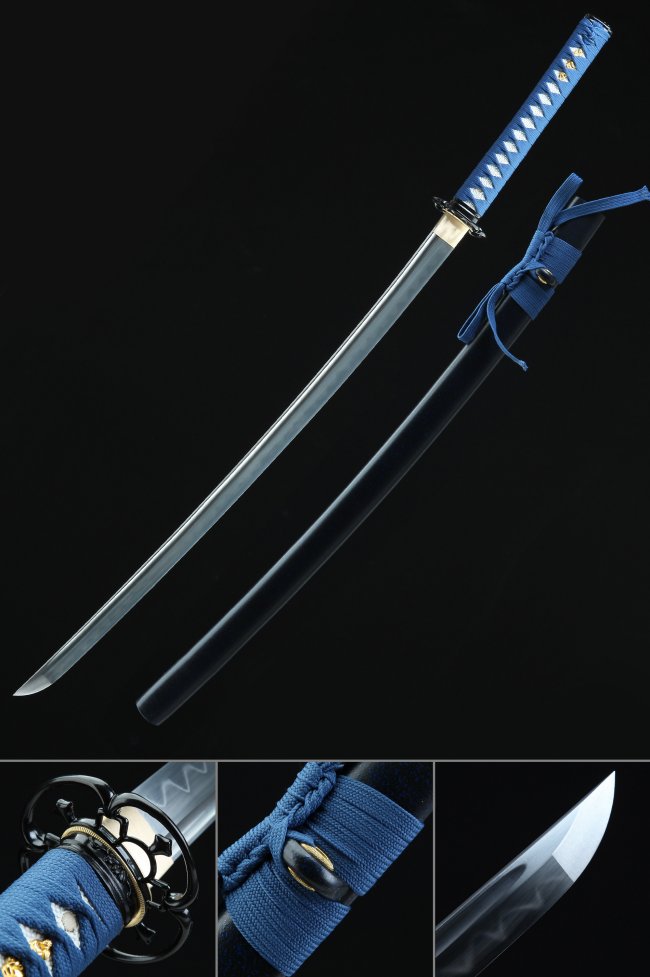
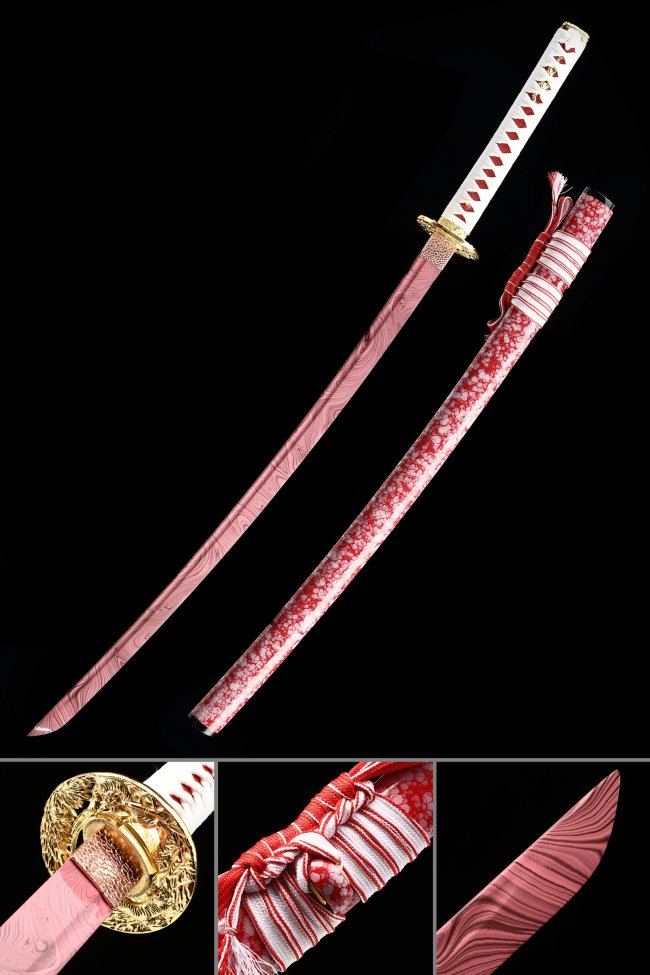
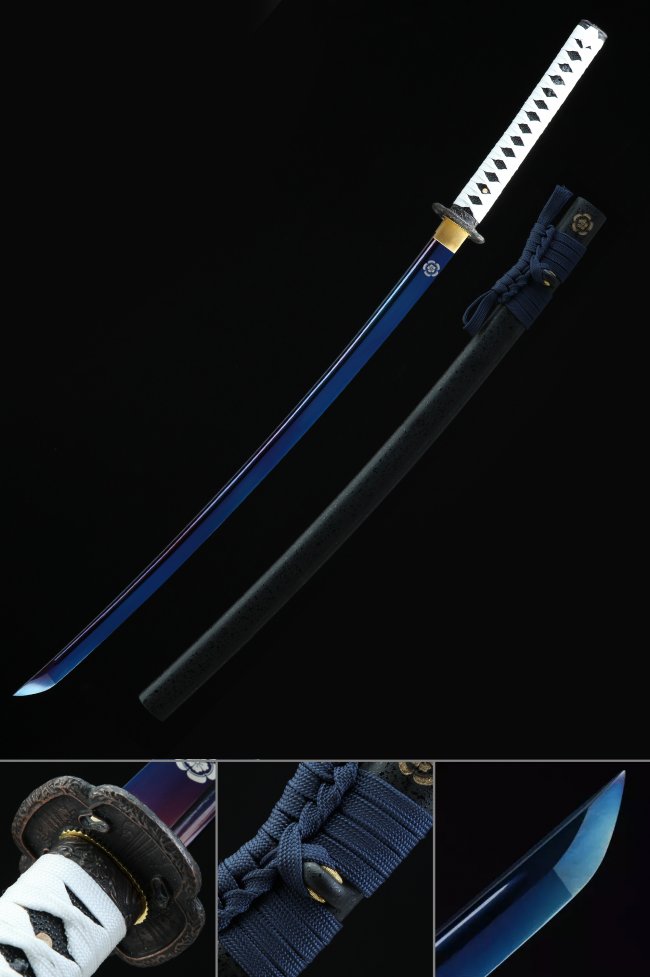
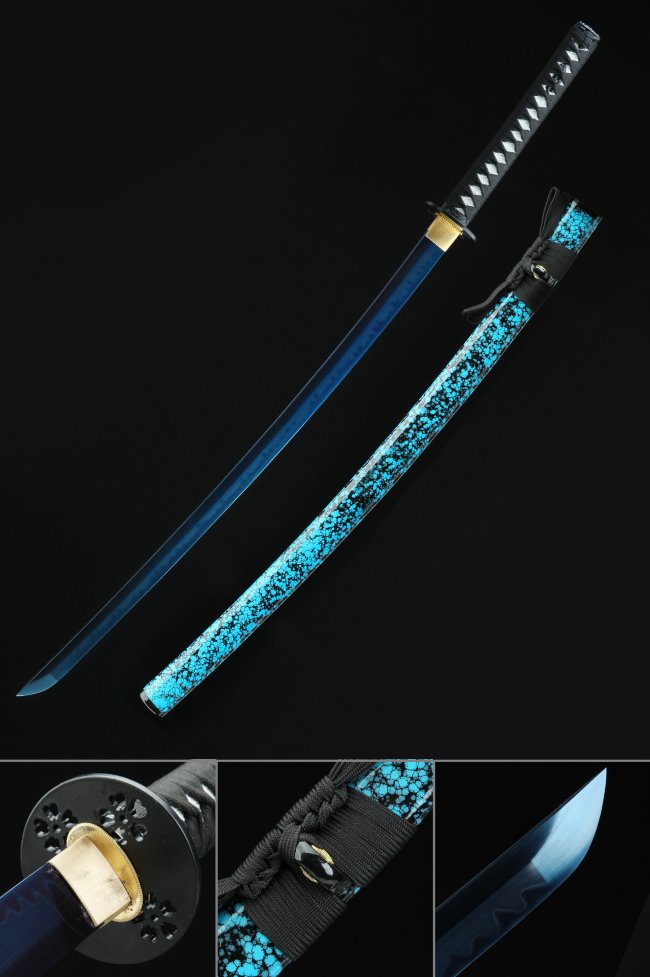
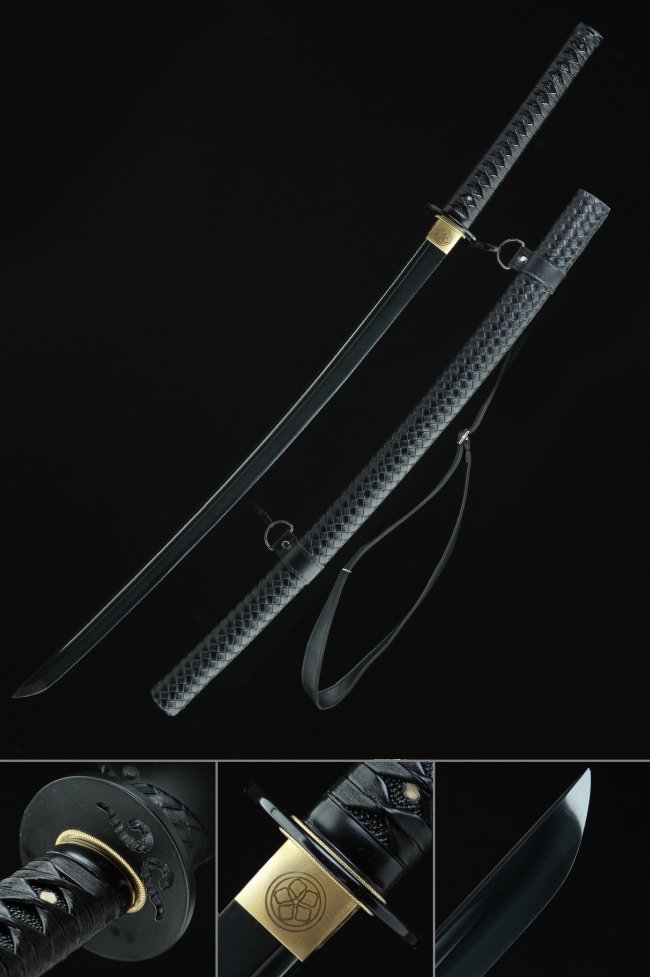
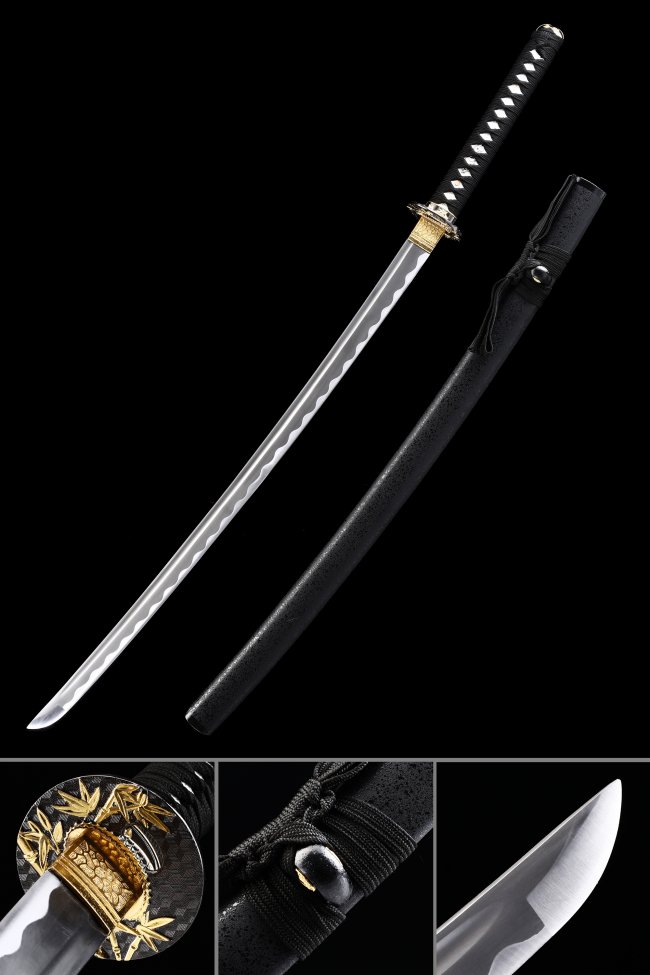
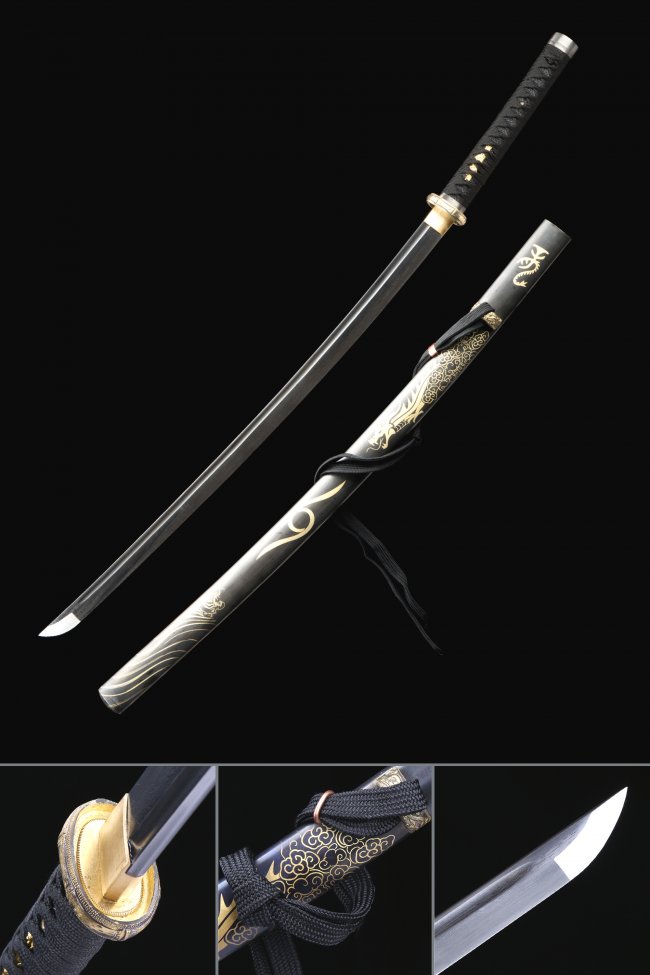
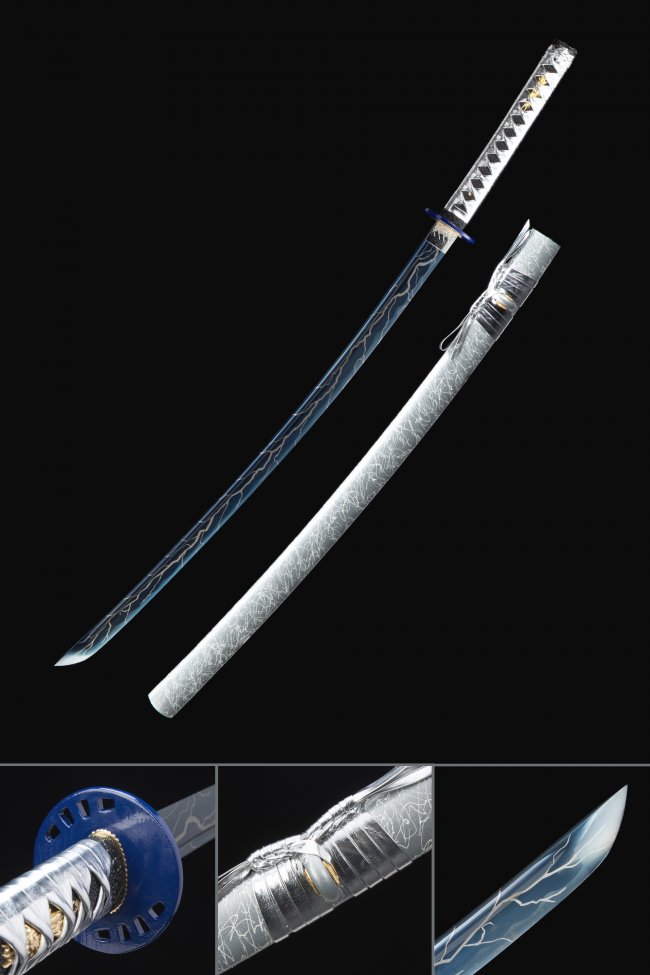
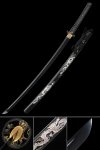
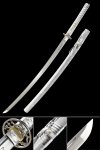
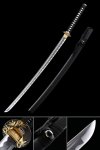
Step up to our mid-range and premium katana swords, featuring 1060, 1095 carbon steel, T10 tool steel, and Damascus steel blades. Many include clay-tempered edges with a real hamon line — the hallmark of traditional Japanese sword-making. These hand-forged samurai swords are built for collectors who value both beauty and structural integrity.
Custom Katana
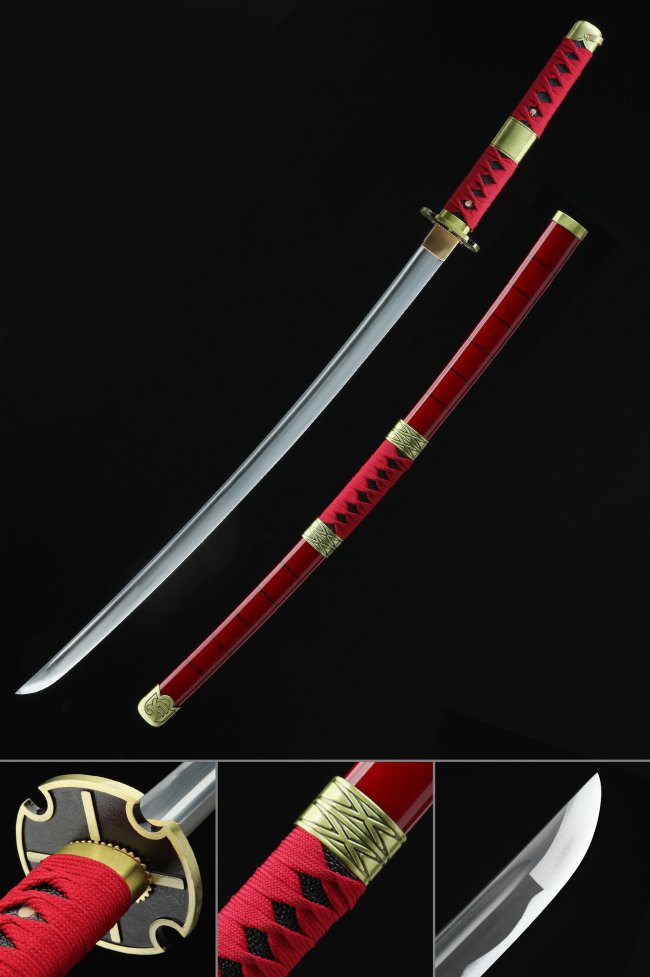
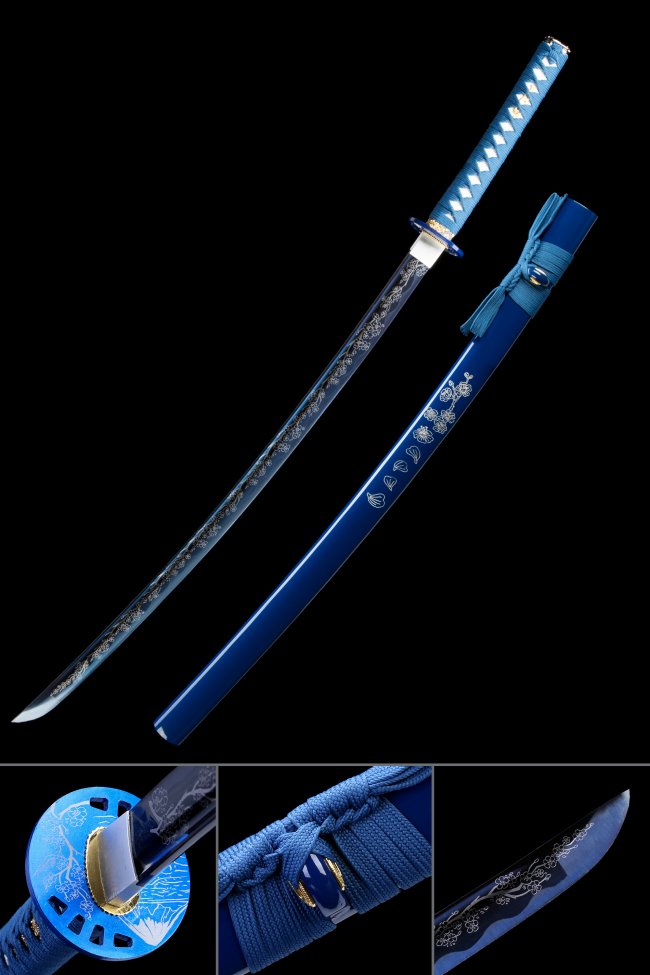
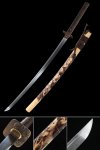
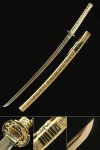
Make it truly yours. Our custom katana service lets you select your preferred steel type, blade length, handle wrap color, tsuba design, and saya finish. Every custom Japanese sword is built to your exact specifications by our master craftsmen — a one-of-a-kind collectible forged just for you.
Anime & Movie Replica Katana
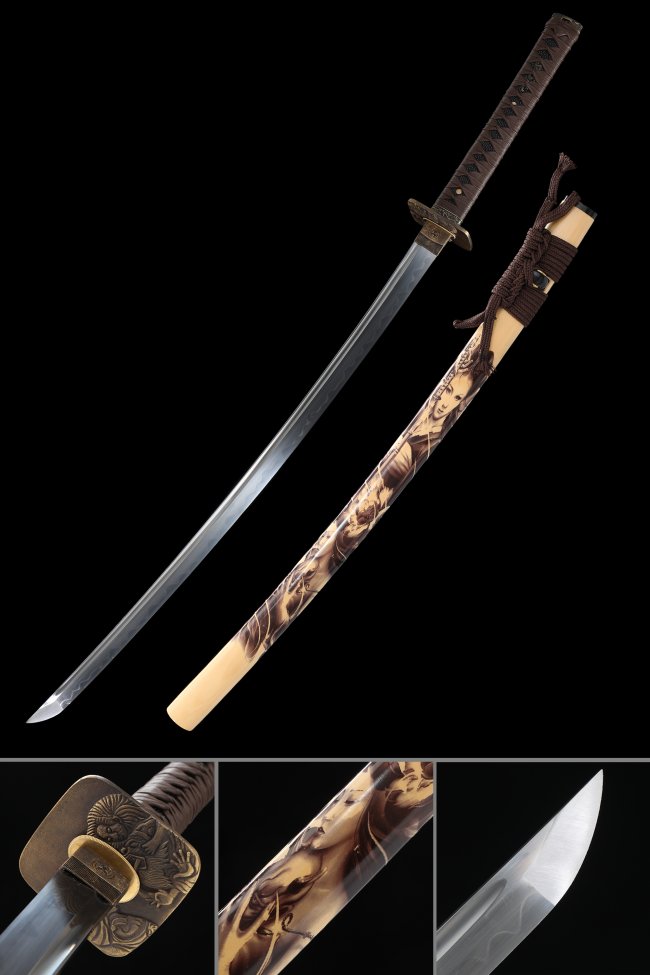
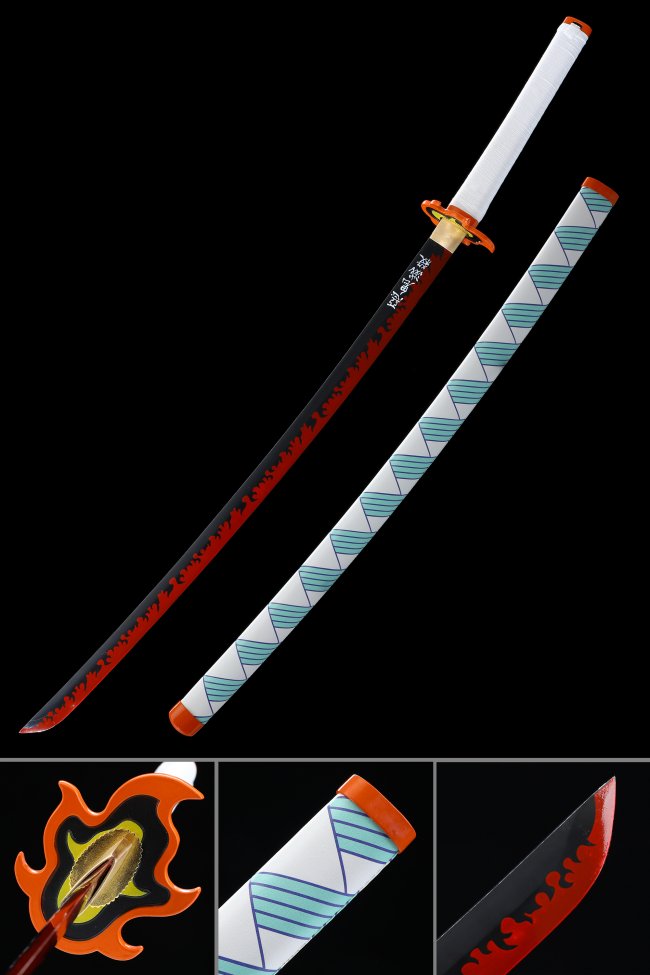
From Demon Slayer Nichirin blades to One Piece replica swords and iconic film katanas, our anime and movie collection brings your favorite characters' swords to life. Forged from real carbon steel with full tang construction, these aren't toys — they're detailed, collectible-grade replicas built to the same standards as our traditional line.
What Sets TrueKatana Apart
Every katana sword in our collection is hand-forged — never mass-produced or machine-stamped. Here's what 80,000+ customers already know about shopping with us:
- 1,400+ Handmade Katana Swords — One of the largest selections of Japanese samurai swords online, spanning 12 steel types, 27 color options, and 13 themed collections.
- 40+ Master Swordsmiths — Our team of experienced craftsmen hand-forge every blade using time-honored techniques passed down through generations of Japanese sword-making tradition.
- 9,800+ Verified Reviews — Real feedback from real collectors. Our 4.9-star average rating reflects our commitment to quality and customer satisfaction.
- 7+ Years Serving the U.S. Market — Since 2019, TrueKatana has been a trusted name in the American sword-collecting community, shipping from our warehouse to all 50 states.
- Free U.S. Shipping on Every Order — No minimums, no hidden fees. Every handmade katana ships free to addresses within the United States.
- 30-Day Satisfaction Guarantee — Not what you expected? Return any katana within 30 days for a full refund. We stand behind every sword we sell.
How Our Katana Swords Are Made
Every katana in our collection follows a meticulous hand-forging process rooted in centuries of Japanese tradition:
Steel Selection & Forging Our swordsmiths begin with raw steel — from reliable 1045 carbon steel for everyday collectibles to premium T10 tool steel and hand-folded Damascus steel for advanced collectors. The steel is heated, hammered, and folded repeatedly to refine the grain structure and remove impurities, resulting in a blade with exceptional resilience.
Clay Tempering & Hamon For our mid-range and premium katana swords, we apply a traditional clay tempering process. A thin layer of clay is hand-painted along the blade's spine before quenching, creating a natural hamon line — the distinctive wavy pattern that marks an authentically tempered Japanese sword. This process yields a hard cutting edge and a flexible spine in a single blade.
Mounting & Finishing Each blade is paired with carefully selected fittings: hand-cast alloy or copper tsuba, genuine ray skin (samegawa) under the handle wrap, and a lacquered or hand-painted saya. The result is a complete, display-ready Japanese samurai sword that honors the art form while serving as a striking centerpiece for any collection.
Use the filters on this page to narrow by color, steel type, theme, or budget. And if you ever need guidance, our team is always happy to help you find the right katana sword for your collection.