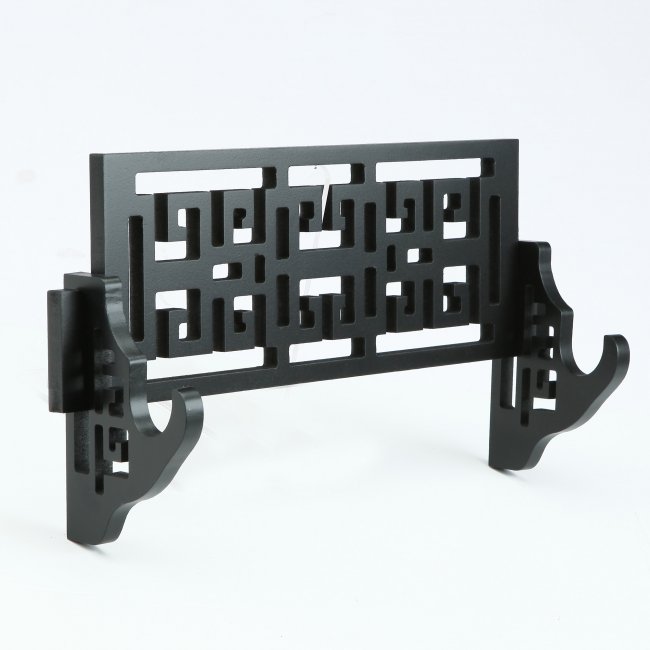
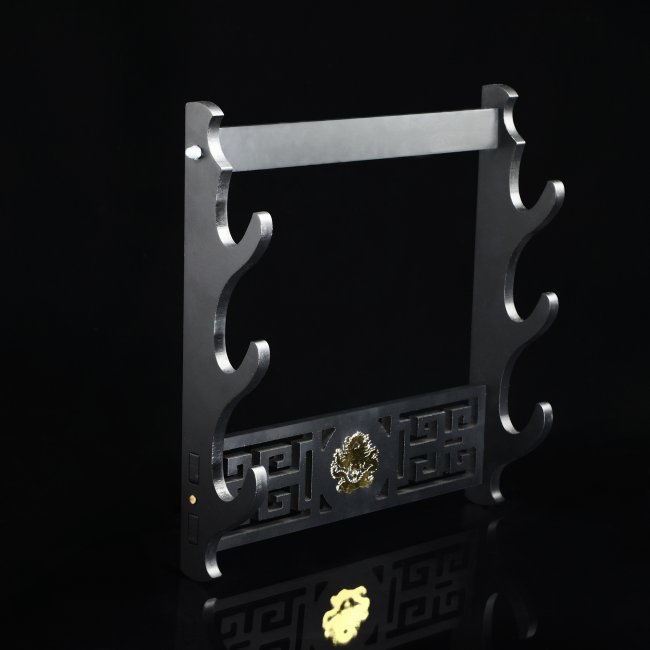
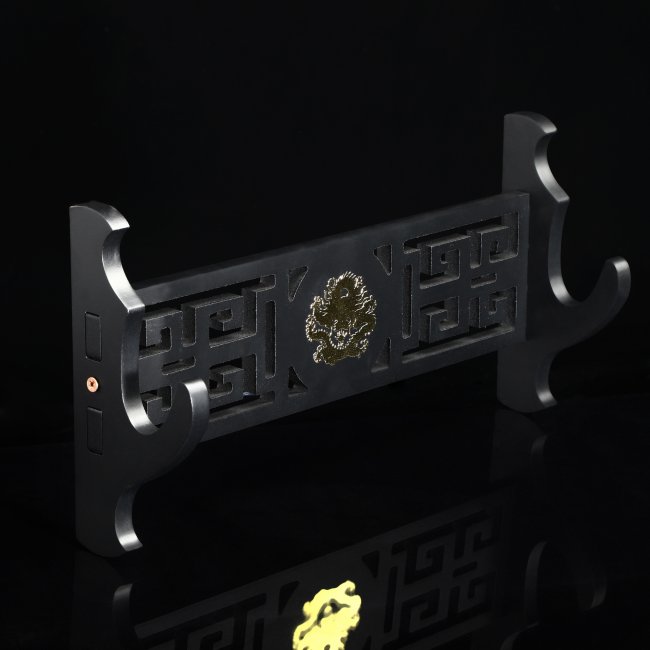
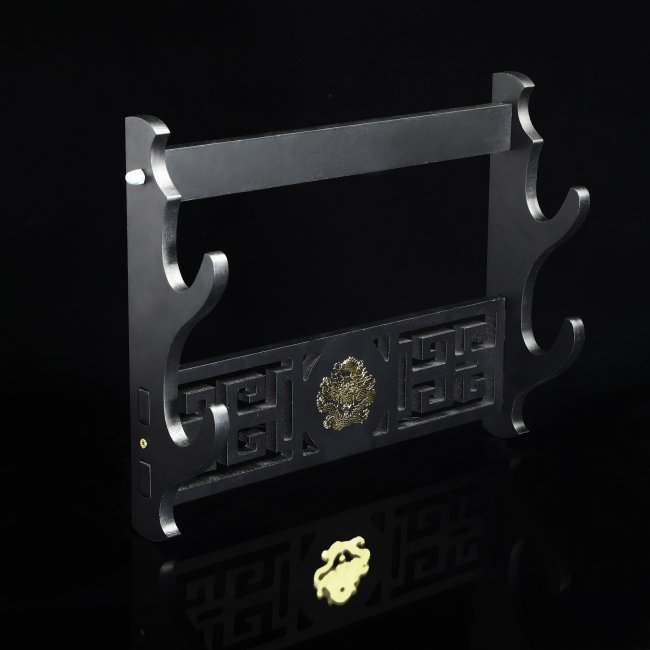
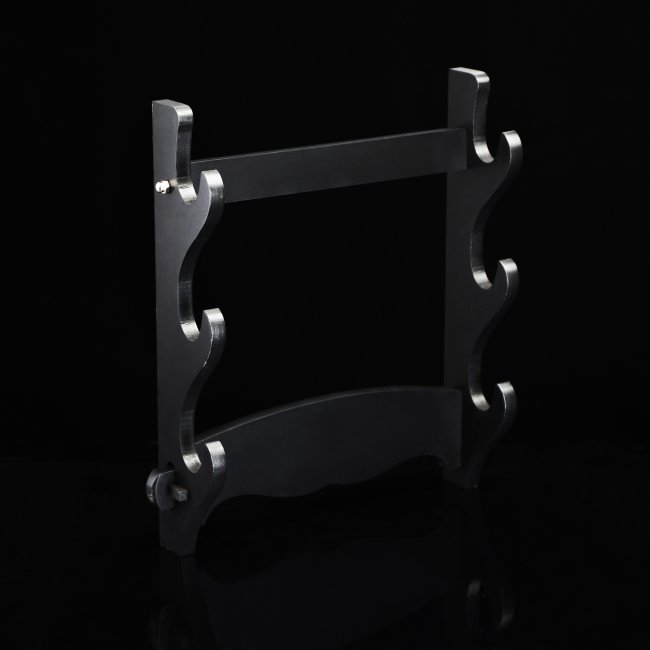
Katana Wall Mount
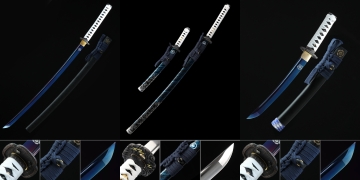
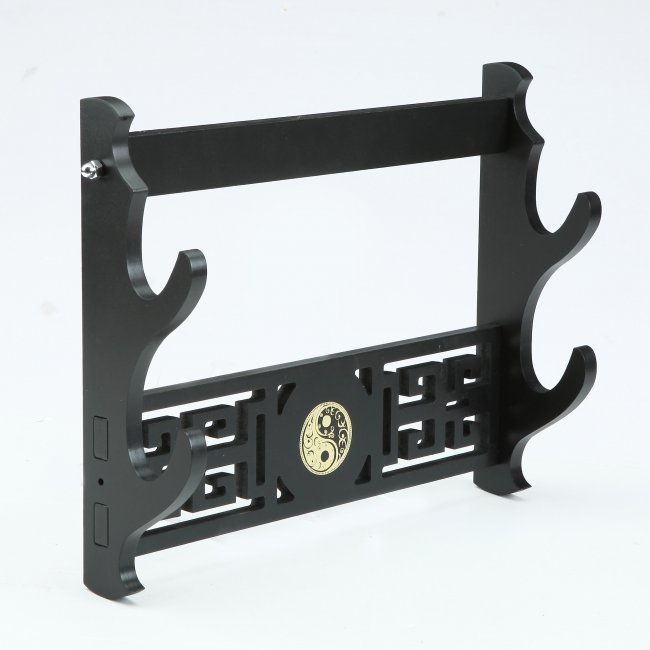
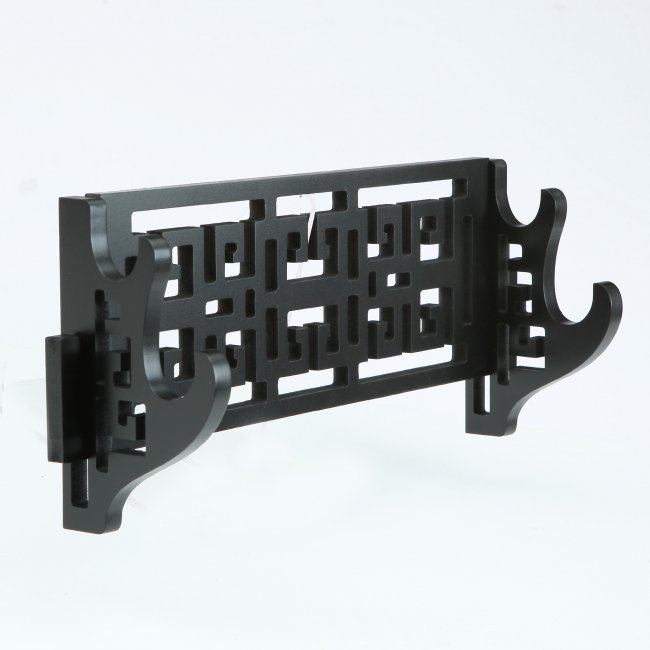
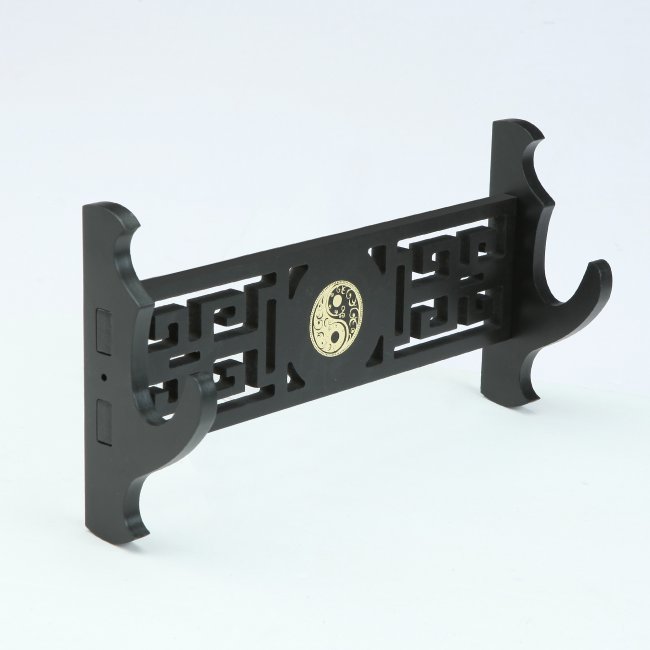
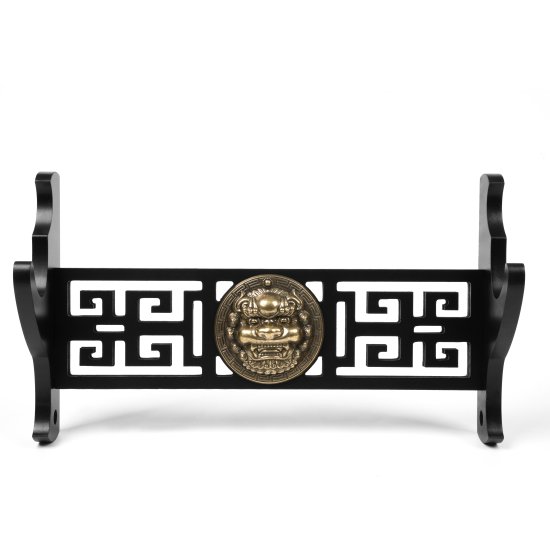
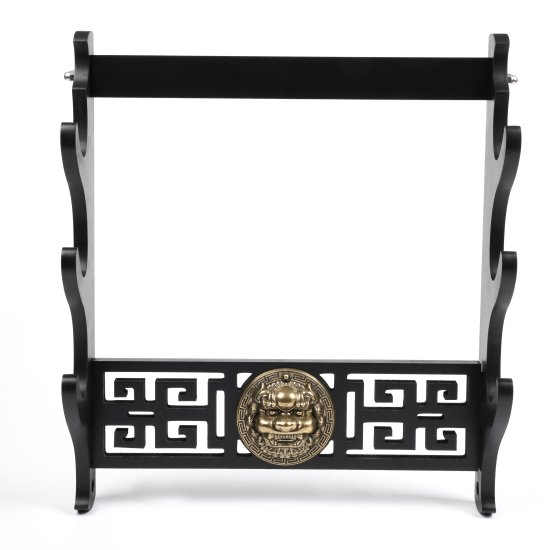
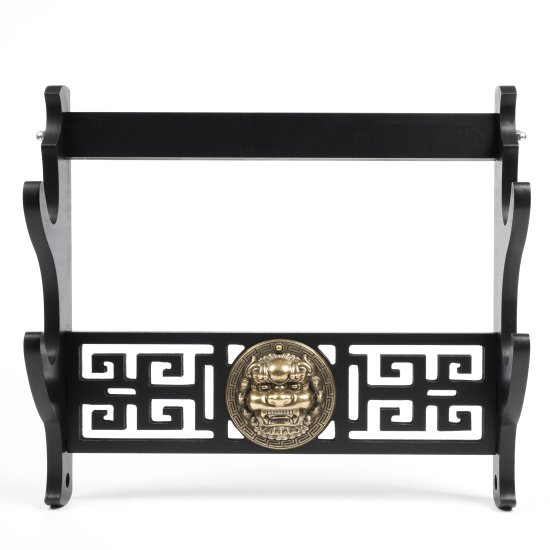
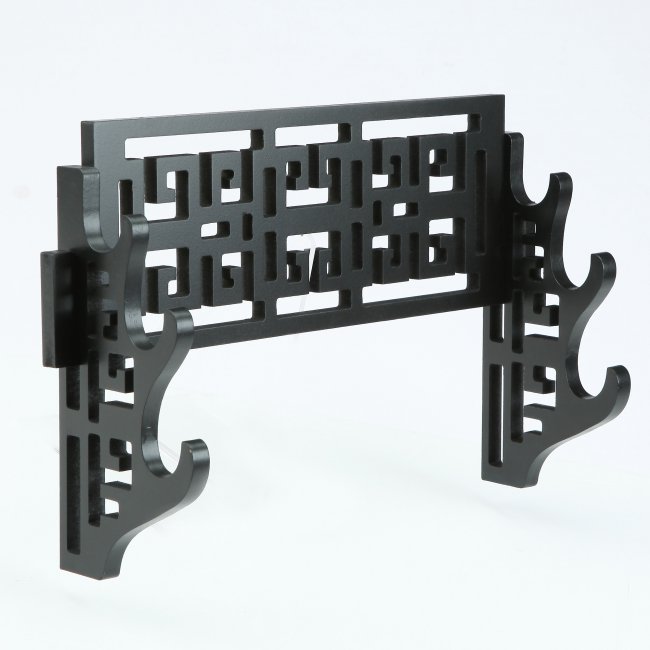
Our katana wall mount collection is built for collectors who refuse to lean a real sword against the wall. Every rack is turned from solid hardwood — oak, walnut, rosewood, or red sandalwood — cut to hold a full-tang Japanese blade the way a museum would: horizontal cradles for traditional display, vertical plaques for tight wall space, and multi-tier designs that keep an entire set visible from a single glance. Inside the pegs we use soft felt padding that grips the saya without scratching the lacquer, and the back plates are pre-drilled for wall-stud anchoring so a 1.5 kg daito stays exactly where you mounted it. Whether you are hanging a single treasured display katana, building a Bleach or Demon Slayer shelf, or organizing a growing daisho set, these mounts pair with our full sword stand lineup and ship free anywhere in the US backed by our 30-day satisfaction guarantee.

Related Collections
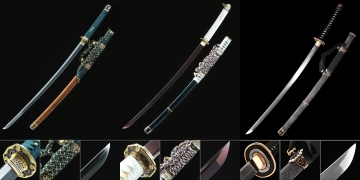
Kodachi Sword 34 items
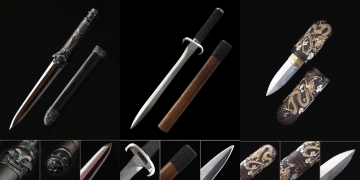
Double Edged Tanto 4 items
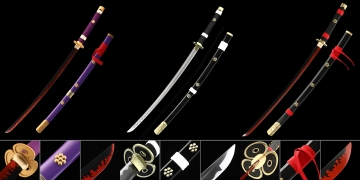
Enma Sword 3 items